Now it starts getting interesting. How realistic do you want to be? Also, since Mir was/is a modular station its configuration has changed over the years. Next, do you want a shuttle docking? That's what I did... if so also buy Revell's (or another) 1/144th scale shuttle only. It can be hard to find so go to:
and put in the word "shuttle" without the quotes in the search box....
If you cannot find the "shuttle only" model and REALLY want to do a shuttle docking w/Mir model then buy revell's 1/144th scale shuttle model complete with boosters and external tank..the total price is STILL about 1/3-1/4 what you would pay to do it any other way....
Next.. the solar panels that come with the ARSC kit suck. They are out of scale (too small) and too thick (in reality the solar panels are about 1" thick...in the ARSC they are 1/8th " so they look cheesey... I decided to make mine out of .10 brass sheeting you can buy at your local good hobby store... like $1+ a sheet.... you can try contacting Real Space modeling and ask if you can buy their Mir (their entire Mir without a shuttle docking goes for $80+ which you may wish to consider) accessories which includes solar panels for all mods, beams etc... that goes for $25+ or so... (as you see it's getting more expensive as you go.... depending on how realistic you want the model)...if not the measurements for the solar arrays, beams , strela arms (used for space walking) are included further on in this file (in 1/144th scale for all solar panels.... the beams you can order by ordering "Weber beams" (3mm or 1/4") from the hobby store. The brass sheets and weber beams are less expensive...more work... the rapana and Sofora beams dimensions are included below.
Lastly you will need a set of hi-res images from NASA/Russia etc on the Mir and the shuttle... if you are really serious I can zip them up and send them. They really help for detailing... also paln on buying some alumium pipes 1/4", 1/8th " which fit snuggly inside each other (these will be used to attatch the solar panels, strela arms (for EVA) etc...
So what you will have (minus paints,glue, tools etc) are:
|
|
| $52 (with Real Space accessories and shuttle) | |
| or $46 (with brass sheets, weber beams aluminum pipes) | |
| or (subtract shuttle cost from each to build just the Mir) ... |
The least expensive way to go is just the ARSC and making your own solar panels which will cost you about $25 which will make a great Mir model... try to get the shuttle for a docking though...looks TOO excellent.
(if you are serious I can offer you some tips on how to cut the brass and have it come out nice (basically practice "scoring" it with an Xacto knife (carefully) using a steel ruler (cut AWAY from yourself AWAY) ...also I used a metric ruler... I find working in metric easier and also instructive. Just easier to divide, etc... helps to learn it too...
I did the pre-crash config with all modules and Atlantis docked. As I recall it is the STS-79 Mir/docking. I picked it because it was a flight with all Mir modules and beams etc. and before the Progress crash. Mine is displayed as a mobile over a desk (from 12 lb. test fishing line from a aluminum vertical pipe with brass crosspiece). It hangs nicely with no problem.
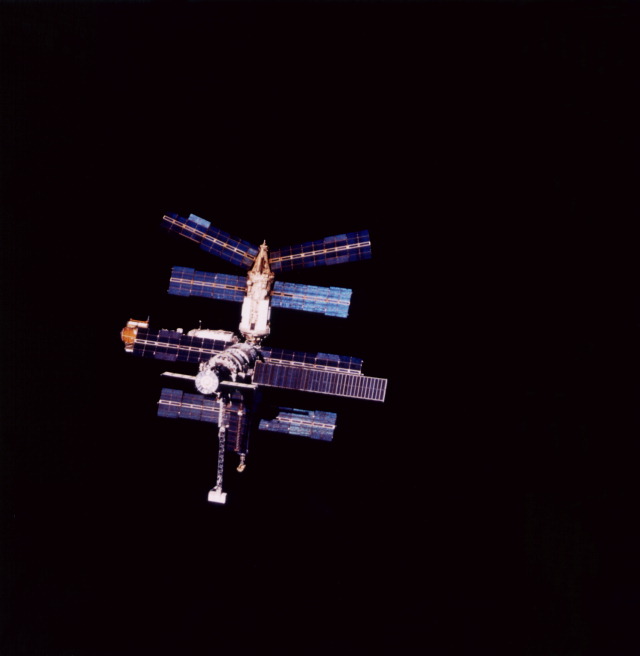
A real nice touch is having a shuttle dock to the Mir... the docking port in the shuttle bay not on Kristall (seen on image mir8.jpg and sts76-atlantis_from_mir.jpg and mir7.jpg ) in a shuttle would be about 20mm wide and come to top of shuttle "canopy" where the windows are. On the shuttle docking port I first fit (before gluing to the Mir model) the orange Kristall docking port and you will see the "orange" Kristall port (actually we put it there) in the Mir model is sort of conical and rounded on the end. I cut a matching snug indentation on the shuttle port (use left over parts from the ARSC) and applied a ton of the Duro resin epoxy. Mine hangs by that one point real nicely. If you want you can run a brass pipe from the Kristall thru to the docking port to make it extra sturdy, but my shuttle hangs and swings all day very nicely as is with no problem.
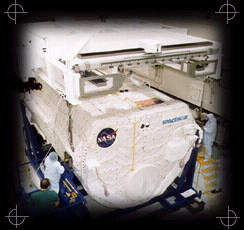
To be realistic note that in the shuttle bay by the docking port there is a tunnel (I cobbled from the Armaggedon left overs..) and then what is the spacehab... if you do get the Revell 1/144th scale shuttle included is an ESA module which is cylindrical. To make it look like a space hab I sliced, cut the top off as the spacehab shows in image spacehab_double_module.jpg. Note you have to move the new "spacehab to the "rear" of the shuttle cargo bay.
For the solar arrays I wanted sturdiness and for them to swivel. I drilled thru the module with array (did it by hand, holding correct diameter drill- always make the hole snug...remember you can cut away, not add) . If you want them to swivel together (turn one and the opposite turns: it's easy... just connect array to one slit (about 10mm from end of pipe) in end of the 3 mm aluminium piping (obtained at hobby stores -the 3 foot lengths are same price as one foot sections so....), slide pipe with array on one end thru holes drilled in module and connect the other array. Make sure the original hole is tight for the pipe. If not wrap the pipe on the array with bit of tape BEFORE connecting the array at other end. Some people use small washers glued onto pipes but mine stay nice and snug. Be sure to leave enough length at either end.
Buy .10 brass sheeting... about 6 for now...for the solar panels. Also get the approx. 1/8"aluminum pipes and next smaller diameters. NOTE:-they fit snug inside one another - I used DURO Epoxy (strongest , the ones with two tubes in one large syringe... the one with red label) to connect the panels (mine actually turn which lends a nice touch. I use a modeling stainless steel saw to cut slits in the pipes so the panels can slip in... I use aluminum rather than brass... lighter, easier to work and for this model is strong enough . NOTE:You can buy 3 foot pieces as cheap as the shorter ones.
The Strela arms (look at images of the Mir Core module: they are coming out by the "narrower" front part and extend up to the other modules. They slide into on another and rotate up, down and around. They are used for spacewalks and transporting materials. They have no motors so they are operated manually. To make them is easier than they look.... just cut length of 5mm alunminum pipe to fit through the Core module, then carefully drill 3mm (or smaller) holes to connect aluminum pipes perpendicular to the pipe thru the core module. At the hobby store you will notice each smaller diameter pipe will fit nicely into preceeding wider pipe. Thus for the Strela arms fit smaller and smaller diameter pipes to make Strela arms collapsible. At the end of the arms put small rectangular cross pieces of plastic as hand holds.
For the dimensions see image s_mir_chart.jpg.... I included all I think you could use..lemme know if you want anything else....
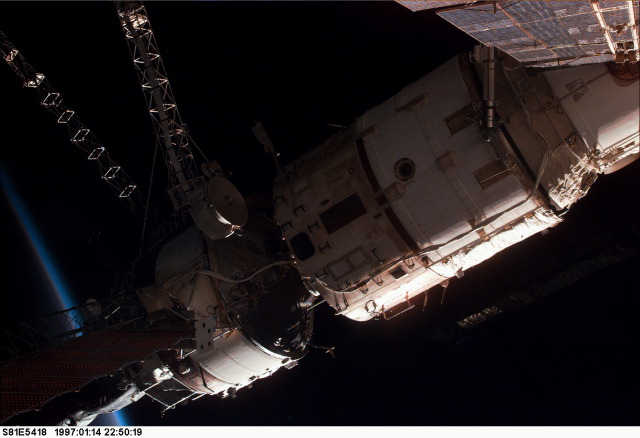
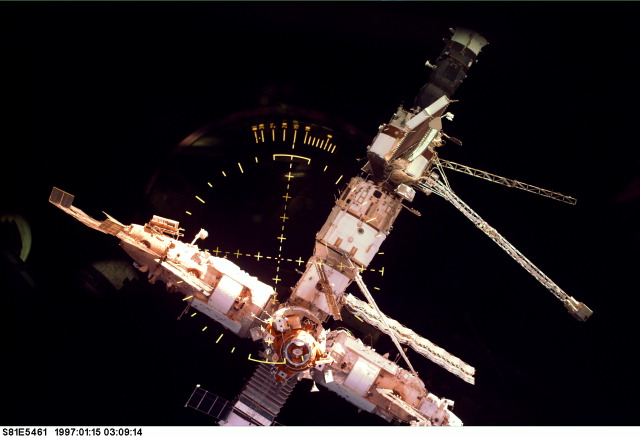
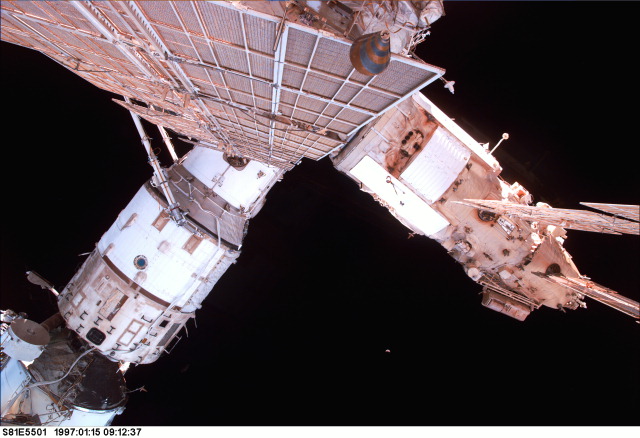
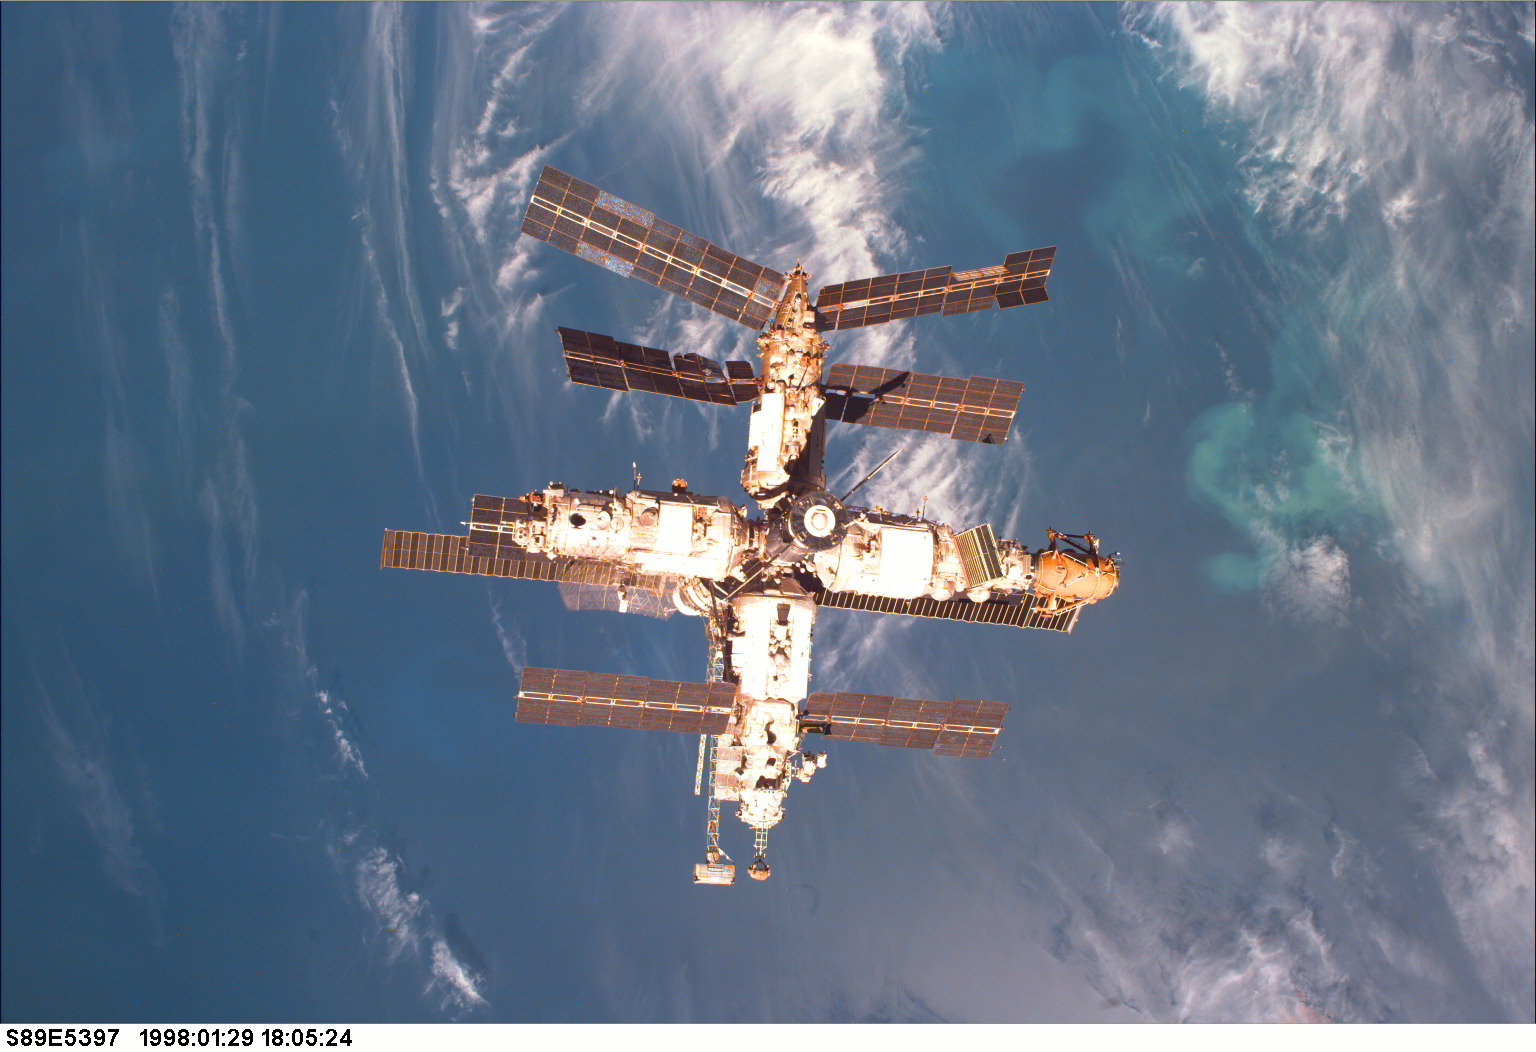
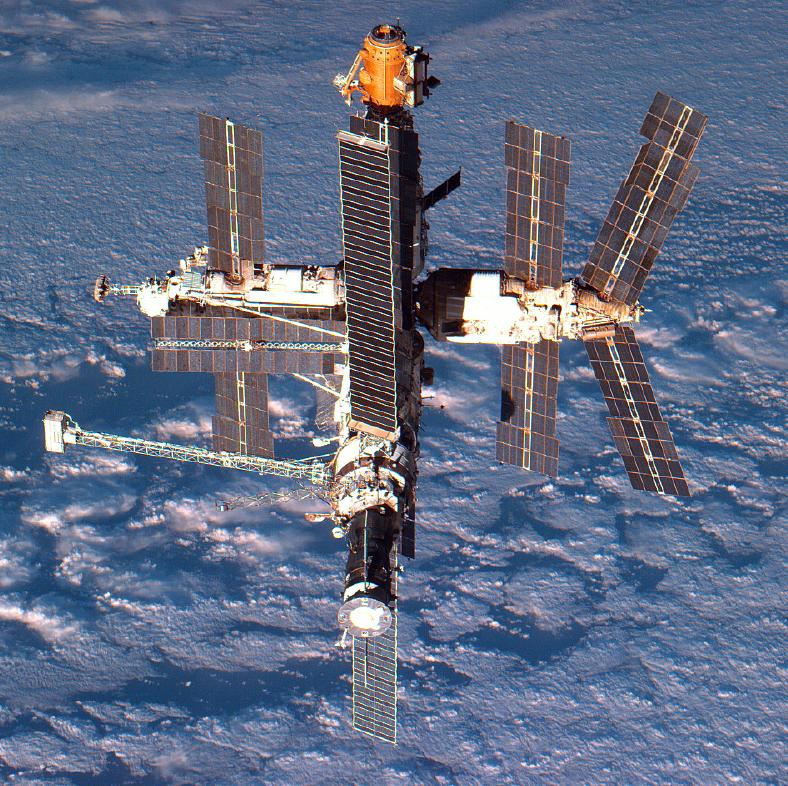
Am including zipped images (it's NOT everything I have !!!... shows all detail, colors.though..) You will notice that the color of Mir changes according to light conditions and reflections from the earth. Space is very peculiar in that there is seldom the same color twice. However, on Mir the /golden/brownish "glow" color I call it as shown in image Mir9.jpg and the closeup 76708038.jpg as well as images like s81e5460-mir_all.jpg give a close representation... The reason is these areas that change color are actually a material insulation which started green and have faded to white and the brown "glow" color. Outgassing from the shuttles and Mir attitude jets also produce it.
Ok...what do you do?...If you chose to go with the brown "glow" color I used Testor's brown but after applying a small amount (brush stoke or two) in an area I then "washed it" with another brush in paint thinner... this "watered" the color making it translucent... use "less" than you think and practice on a scrap piece of plastic (leftovers from the Armageddon model)... after painting it I applied the Pactra Acrylic Enamel Gloss clear to give it that "glow" quality. Paint "less" than you would... less is often more in quality. Allow variation in tone.
I gave notes on the arrays...I put the Acrylic gloss clear on only the dark blue side... the bottom I left the brass color...note the color of the underside. They started white but again are more brownish now. It's up to you.
Ah...here is a nice touch ...when you get the shuttle for docking, included is a 1/144th astronaut on a tether and space suit!. Soooooo... you have a nice reference to show the size of Mir and the shuttle (impresses ME !)... Kids who have come over to see it "click" when I show them the astronaut... I color him/her orange ...is actually white (Russians are orange) but shows up better.... I stick him on the end of the Sofora Truss...
From the images included the "white" parts of the Core module are almost always white ... there is also an image showing the Mir name in Russian (earlier images had CCCP for the USSR under the Mir name (btw Mir is always spelled Mir not MIR.) but that is rubbed out now. See s89e5387piroda-mir_name.jpg.
Note: the Kvant 1 mod (back of Mir Core mod.) now has two solar arrays
The dimensions of the Rapana and Sofora trusses are included in the image with the other dimensions....